
Working with a designer · Northern Virginia
What Does the Interior Design Process Look Like, Step by Step?
A full interior design process runs from discovery consultation through space planning, design concept development, material and finish selections, construction documentation, contractor coordination, and final installation. The exact number of steps varies by project, but the sequence doesn’t: you plan before you build, build before you furnish, and furnish before you style.
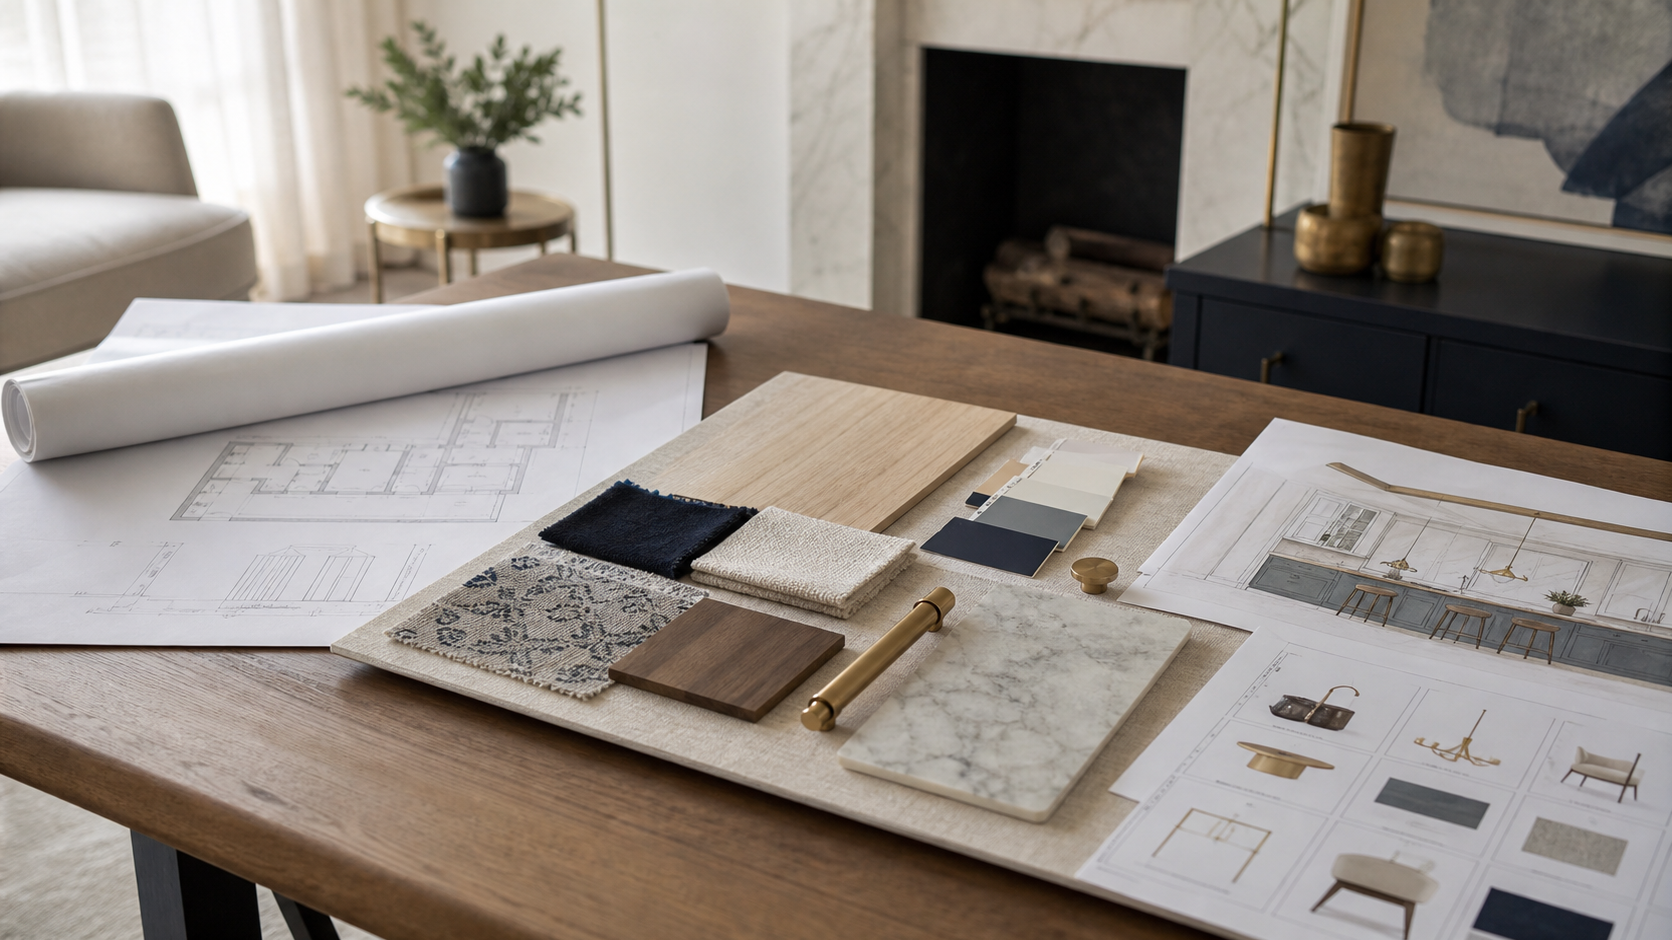
Most homeowners know they want a designer but aren’t sure what working with one actually looks like week to week. The process has a clear shape. Here is how it unfolds at Shea Studio, and what you can expect at each stage.
Step 1: Discovery consultation and site assessment
The first meeting is less about solutions and more about listening. A designer’s job in this phase is to understand how you live, what the space fails to do right now, what you’ve loved and hated in past homes, and what the project is realistically trying to accomplish. An honest conversation here saves many hours of revisions later.
We visit the space. Dimensions matter, but so does the quality of natural light, the traffic patterns people actually use, and the relationship between adjacent rooms. We take notes, photographs, and measurements. We ask about how you cook, how you entertain, how you work from home, and what “done” looks like to you.
Before we leave that first meeting, we should both have a clearer sense of scope, a rough sense of timeline, and an honest read on whether the project we’ve been describing and the budget available are in alignment. If they’re not, we say so.
Step 2: Space planning and schematic design
Space planning is where the project becomes real on paper. The designer works through the floor plan: where walls move or stay, how circulation paths work, where fixtures land, how light should fall. This phase produces a schematic you can react to before anything is committed. Changes here are free. Changes after drywall are not.
For a kitchen renovation, space planning means deciding the work triangle, the island footprint, the landing zones beside the range and refrigerator, and the height relationships between upper and lower cabinets. For a primary bathroom, it means resolving where the shower goes, where the double vanity fits, and whether the layout allows for the spa elements you’re hoping for.
This phase can involve multiple rounds of iteration. We present options, explain the trade-offs of each, and work toward the plan that best fits your goals and the space’s constraints. A good space plan is the foundation for everything else. If the plan is wrong, the finished room will feel wrong even if every finish is beautiful.
Step 3: Design development and finish selections
Once the plan is confirmed, the design moves into materials: cabinetry profiles and finishes, countertop and tile selections, hardware, lighting fixtures, flooring, paint, and all the finish-level decisions that define the look and feel. The designer presents these as a coordinated package, not as separate decisions, because how they interact matters as much as any individual selection.
This is where a material board becomes one of the most useful tools in the process. Seeing tile, countertop, cabinet door, hardware, and paint color together at once reveals things you can’t see when looking at samples separately. The warm white paint that looked perfect with the tile chip looks different next to the actual cabinet color in the actual light of your space.
Shea Studio uses trade resources that are not available to the general public. That access matters for quality, lead times, and variety. It’s one of the practical advantages of working with a firm that has been in the market for thirty years. We know which vendors are reliable, which finishes hold up in real residential use, and which sourcing channels get you the best quality at each price point.
Step 4: Construction documents and contractor coordination
For projects involving any construction, the designer produces drawings and specifications that tell contractors exactly what to build and where. This includes floor plans, elevations, reflected ceiling plans for lighting, and finish schedules. The documents serve two purposes: they guide the work, and they protect you if a contractor builds something different from what was specified.
In Fairfax County and across Northern Virginia, many renovation projects require permits. A set of construction documents prepared by the designer, combined with the general contractor’s permit application, is what gets that permit issued. A project that starts without drawings often runs into problems during inspection, or discovers partway through that what was planned doesn’t meet code.
Contractor bidding happens during this phase too. We can help you understand how to read a bid, what to look for in a proposal, and how to compare contractors who are quoting the same scope. We don’t pick your contractor, but we help you ask the right questions.
Step 5: Construction administration and site visits
During construction, the designer stays involved through periodic site visits and regular communication with the contractor. The job is to verify that what’s being built matches what was drawn, to make decisions when field conditions require it, and to catch problems before they become expensive. This phase is where the design’s success is protected, not created.
Things change during construction. An unexpected structural element shows up behind a wall. The ordered tile has a longer lead time than expected. The contractor has a question about a dimension that wasn’t resolved on the drawing. The designer’s job during this phase is to be reachable, decisive, and informed enough to make good calls under pressure without needing to revisit decisions that were already made in the design phase.
Step 6: Furniture, art, and final installation
The final phase is installation: furniture delivery and placement, window treatments, lighting adjustments, art placement, and the final styling that brings everything together. For full-service clients, this is often managed as a single installation day, where the team places everything as a complete composition rather than having pieces arrive one at a time over weeks.
The furniture selections were made early in the process, not at the end. We specify pieces to match the ceiling height, the room proportions, and the finish palette that was determined in design development. That’s why a well-designed room looks like a single decision rather than a collection of separate purchases, because it was.
The reveal, when it happens, tends to be the moment clients understand what we meant when we talked about designing the space rather than just filling it.
| Phase | What happens | Your role |
|---|---|---|
| Discovery | Site visit, listening, scope and budget alignment | Share your goals, lifestyle, and priorities |
| Space planning | Floor plan, layout options, structural decisions | Review and respond to plan options |
| Design development | Finishes, fixtures, material board presentations | Approve or adjust the design palette |
| Construction documents | Drawings, specs, contractor coordination, permits | Sign off on final drawings |
| Construction administration | Site visits, field decisions, quality control | Stay in communication for field questions |
| Installation | Furniture placement, art, final styling | Be ready to walk in on reveal day |
Ready to start your project?
Shea Studio Interiors has guided Northern Virginia and Metro DC homeowners through this process for 30+ years. Let’s talk about where your project starts and what we’d work toward together.
Frequently asked questions
How long does the interior design process take from start to finish?
It depends heavily on scope. A single-room refresh with minimal construction can move through the design phases in a few weeks. A full kitchen or bathroom renovation typically takes four to eight months from initial consultation through completed installation, with design work running six to twelve weeks before construction begins. A whole-home project can take a year or more. Lead times on ordered materials are one of the biggest variables.
When does a client need to make decisions, and how fast?
Most decisions are made during the design development phase, before construction starts. That’s intentional. Decisions made before the contractor starts are free to change. Decisions made once materials have been ordered or installed are expensive. A good designer structures the process so the big choices are made early and with enough information to feel confident.
Do I need to be involved in every site visit during construction?
Not usually. The designer handles the day-to-day contractor relationship. You’ll be kept informed and consulted on anything that requires your input, but you shouldn’t need to be present at each visit. That’s part of what full-service means: the project is managed on your behalf, not handed back to you to manage.
What’s the difference between this process and just buying furniture from a store?
The process described above starts with space, not things. A designer solves the layout before selecting a sofa, plans the lighting before picking a fixture, and specifies finishes as a coordinated system. Buying furniture from a store starts with individual pieces and hopes they’ll fit together. The result of the first approach is a room that feels designed. The result of the second is a room that feels assembled.
What should I prepare before the first consultation?
Come with a sense of how the space currently fails you and what you want it to do differently. Bring photos of things you love, even from other sources. Have a rough sense of your budget range. You don’t need to know what you want the finished space to look like — that’s what the design phase is for. You just need to know how you want to live in it.
How is full-service design different from a consultation or e-design?
Full-service design is end-to-end: the designer is involved from concept through installation, including contractor coordination and purchasing. A consultation is a single meeting, useful for targeted advice. E-design delivers a plan and shopping list but doesn’t include site visits or installation. Full-service is the right choice for any project involving construction or significant investment in materials and furnishings.
or call 703-891-1570